a. 2x RS485 extension Module
b. 2x RS232 extension Module
c. 2x RS232 /2x RS485 extension Module
Spec
1. Provide RS232 x2 / RS485 x2
2. Jumper select RS232 / RS485 output (Rs232/RS485 module)
3. RS485 auto RTS control by software
4. RS485 D+ D- 120 ohm resister select
5. It provides an individual 3.3V power for UART Board
6. Provide HAT EEPROM for future driver program update.
7. Raspberry Pi model 3B & Pi Zero W still can use on board Bluetooth & WiFi
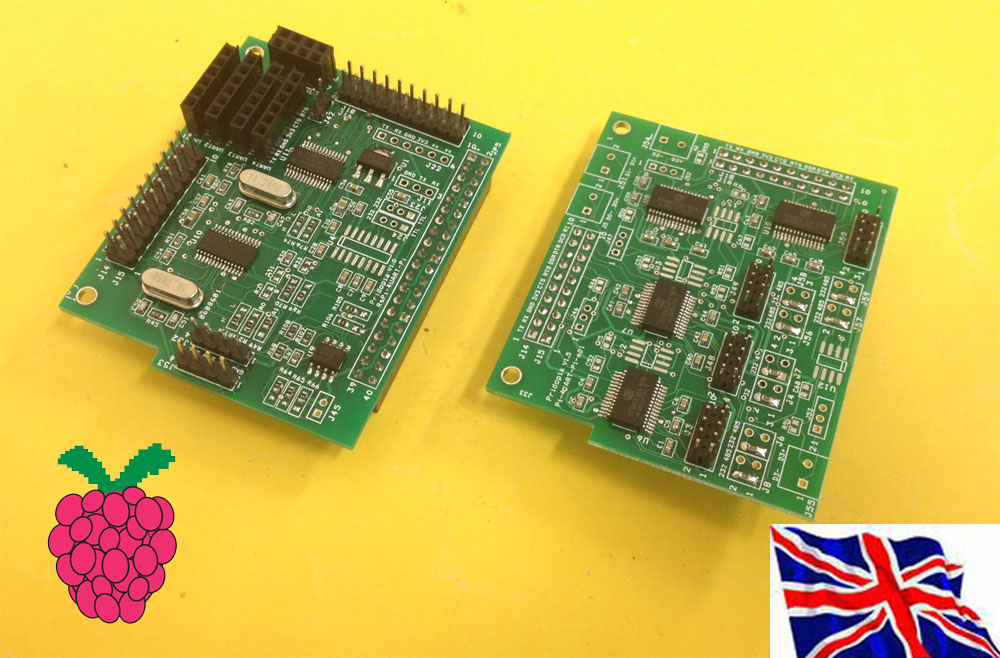
2UART-ext system Board
a. 2UART-ext+ 2x RS485 extension Module
b. 2UART-ext+2x RS232 extension Module
c. 2UART-ext+ 2x RS232 /2x RS485 extension Module
Serial GUI Control Panel
Control up to 4 Serial Ports
1. Scan: Scan for available UART devices.
2. Launch cutecom together when starting Serial Port.
3. Port number in system
4. Baud Rate choose
5.6.7. UART Port Information: Port Address 0x48,0x49, 0x4c, 0x4d
Chip Address Location, Channel Number ( 1 / 2 ), TX and RX receive counter,
and Serial port Location /dev/pts/X
8. RS485 : Enable RS485 in this Port
9. Start : Start UART port
Also provided is a terminal command mode to activate serial ports through a terminal / ssh.
You can also activate a serial port on boot up with the provided software.
Commands for starting the serial ports via command line; ./Pi232 -a ADDR -c CHANNEL -b BAUD -s DEVPTS
./Pi485 -a ADDR -c CHANNEL -b BAUD -s DEVPTS
ADDR = Address of Serial Port e.g. 0x48, 0x49, 0x4C, and 0x4D

			CHANNEL = Channel of serial Port ( 1 / 2 )

			BAUD = Baud Rate for the Serial Port

			DEVPTS = PICOM Service Number ( Will direct the filename to /dev/picomX where X = your number )
For example, To start a serial port from 0x49, on channel 2 with 115200 Baud run the following; ./Pi232 -a 0x4d -c 2 -b 115200 -s 1
This will activate the serial port and then set /dev/picom1 to your serial port location /dev/pts/X
./Pi485 -a 0x4c -c 2 -b 115200 -s 1

			This will activate the serial port and then set /dev/picom1 to your serial port location /dev/pts/X